


How to Balance Design, Cost, and Assembly Experience in Wooden DIY Products
Why Balance Matters in Wooden DIY Product Development
For B2B buyers, developing a successful wooden DIY product is rarely about maximizing just one factor. A product can look highly detailed and visually impressive, but if the cost becomes too high or the assembly process becomes too difficult, it may not perform well in the real market. On the other hand, a product can be very cost-efficient, but if the design feels too simple or the final presentation lacks appeal, it may struggle to stand out.
That is why balance is so important in wooden DIY product development. A commercially successful product is usually the result of several elements working together: an attractive design, a reasonable cost structure, and an assembly experience that fits the target customer. For buyers working with a wooden DIY kits manufacturer, finding the right balance is often more important than simply making the product more complex or more decorative.
Why a Better-Looking Product Is Not Always a Better Product
In many cases, buyers first focus on appearance. That is understandable, because product visuals are what attract attention in a catalog, online listing, or retail environment. But in wooden DIY products, appearance is only one part of the decision.
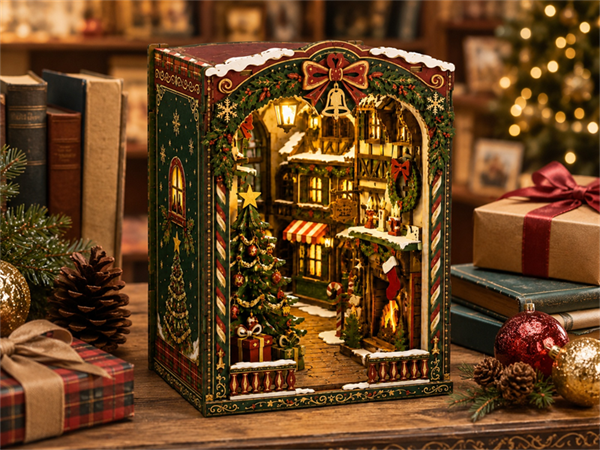
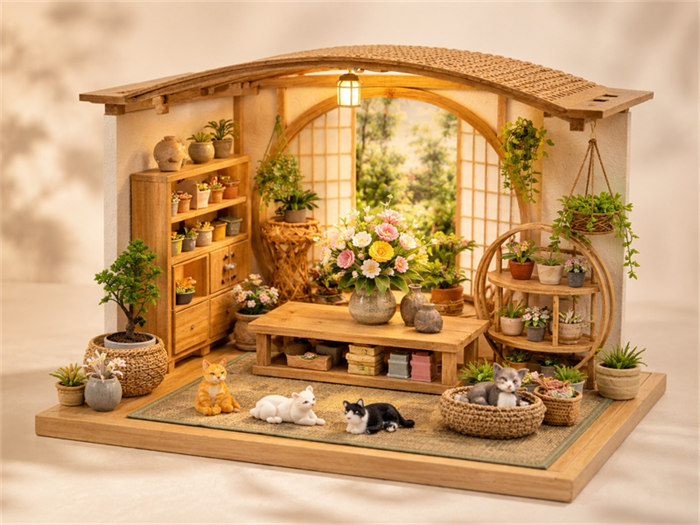
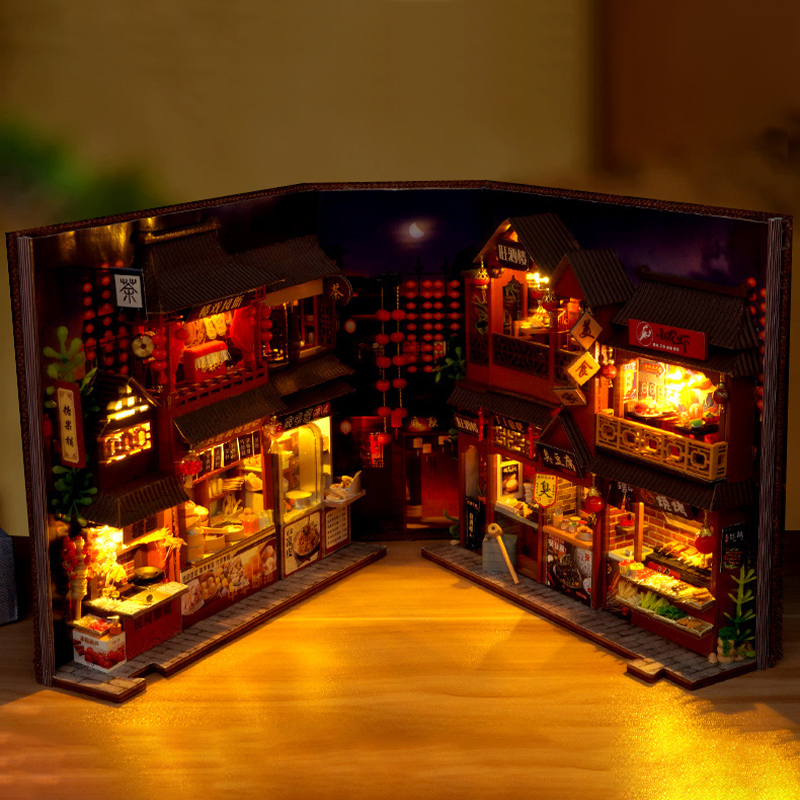
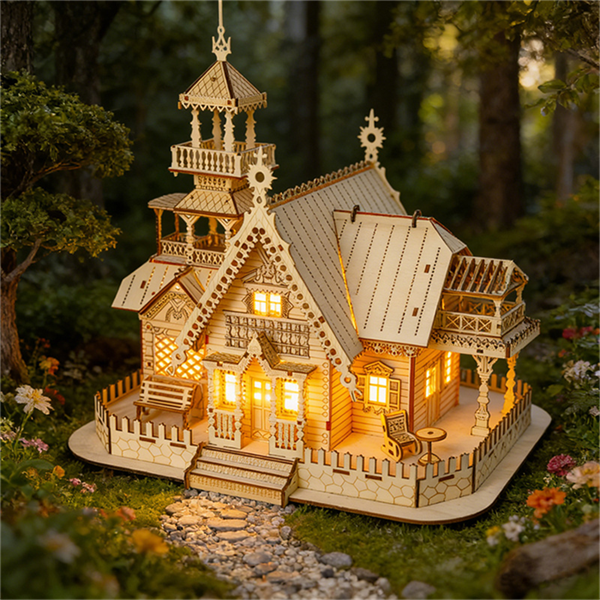
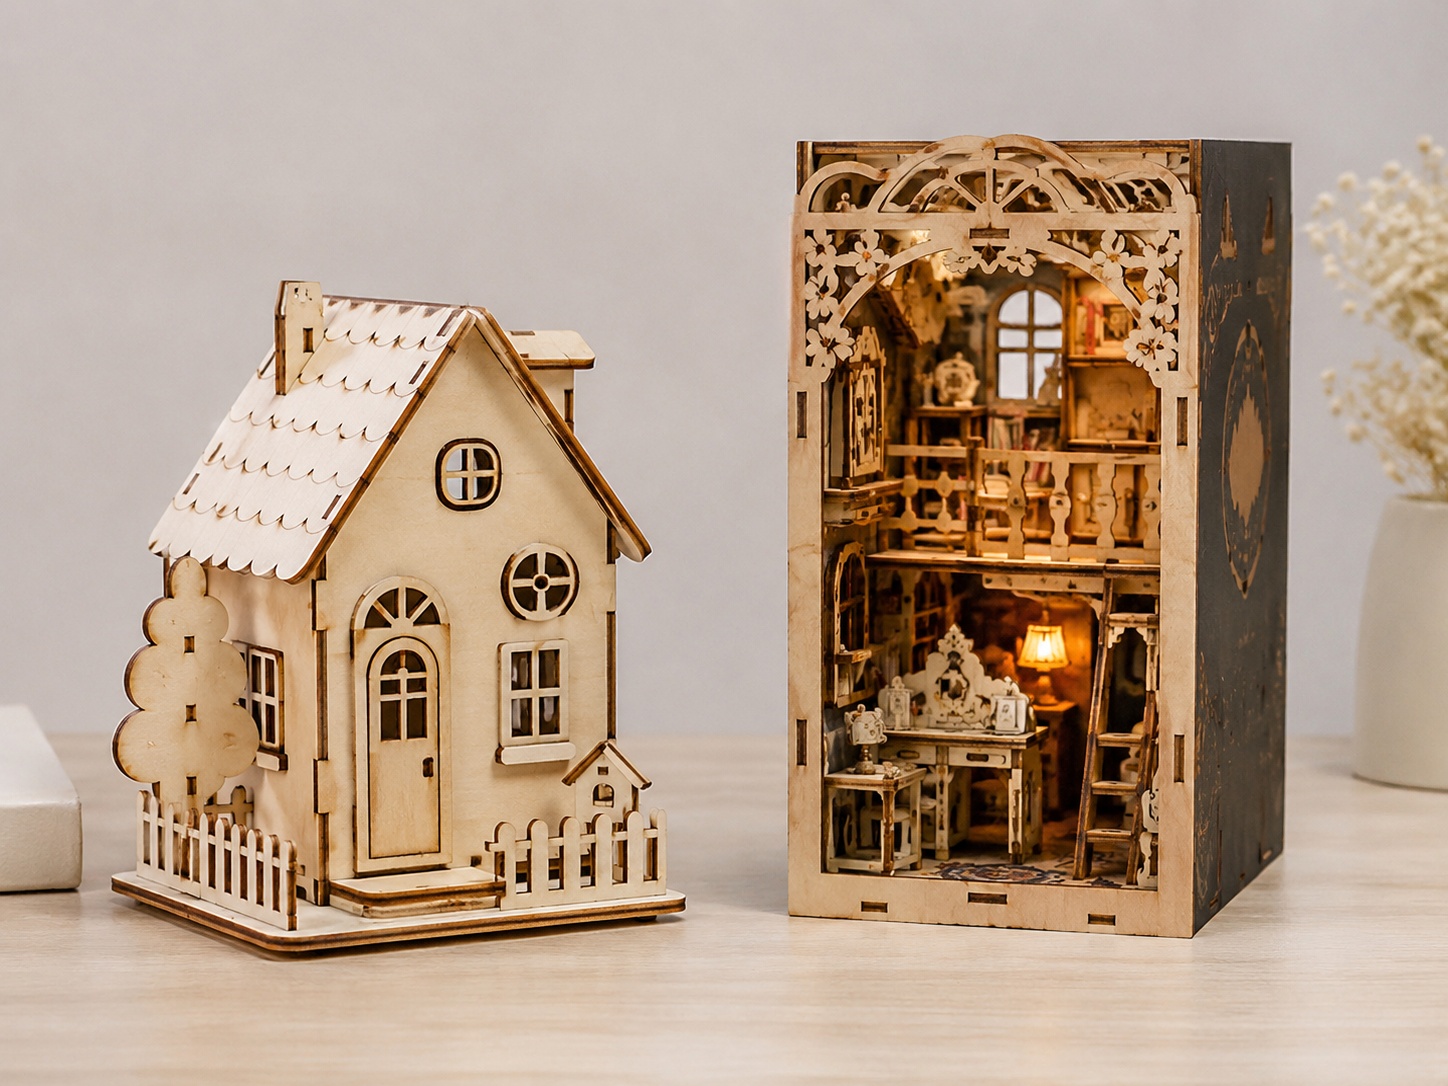
A highly decorative product may require more parts, more printing, more complex structure, tighter fitting requirements, and more packaging space. All of these can increase cost, production time, and assembly difficulty. If the target market is not prepared to pay for that added complexity, the result may be a product that looks impressive but is difficult to scale commercially.
This is why strong product development is not only about creating a beautiful design. It is about creating a product that looks good, makes sense to produce, and provides the right assembly experience for the intended customer.
Step 1: Start with the Target Market
The first step in balancing design, cost, and assembly experience is to define the target market clearly.
Before developing details, buyers should ask: Who is the product for? Will it be sold in gift shops, hobby stores, bookstores, museum shops, educational channels, or online retail? Is the target customer looking for a decorative product, a creative building experience, a themed souvenir, or a collectible model?
These answers matter because different markets accept different levels of complexity, pricing, and assembly difficulty. A casual gift market may prefer products that look attractive and feel easy to complete. A hobby-focused market may be more willing to accept greater detail and a longer assembly process. Educational channels may prefer a balance between learning value, structural clarity, and user-friendly assembly.
When the target market is clear, it becomes easier to make practical decisions about design depth, material choice, finishing level, and packaging direction.
Step 2: Balance Visual Effect with Manufacturing Cost
The second step is to understand that every visual improvement usually has a manufacturing cost.
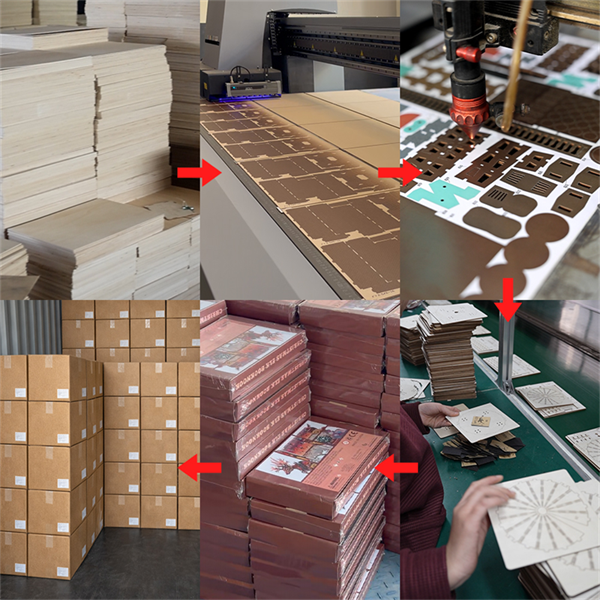
A more complex structure may require more board usage, more precise cutting, more assembly steps, and more production time. Additional decorative details may require more printing, more accessories, or more layered parts. Special surface effects may improve presentation, but they can also affect efficiency and total project cost.
This does not mean a product should always be simplified. It means the design should be improved selectively. The most successful wooden DIY products are not always the most complex ones. They are the ones where the visual highlights are clear and intentional, while the overall structure remains practical for production and commercial pricing.
For B2B buyers, this is especially important in OEM wooden DIY kits and custom wooden model kits. If visual complexity grows too quickly without considering production logic, it becomes harder to keep the product competitive in the final market.
Step 3: Control Part Count and Assembly Difficulty
Assembly experience is one of the most important but most overlooked parts of product development.
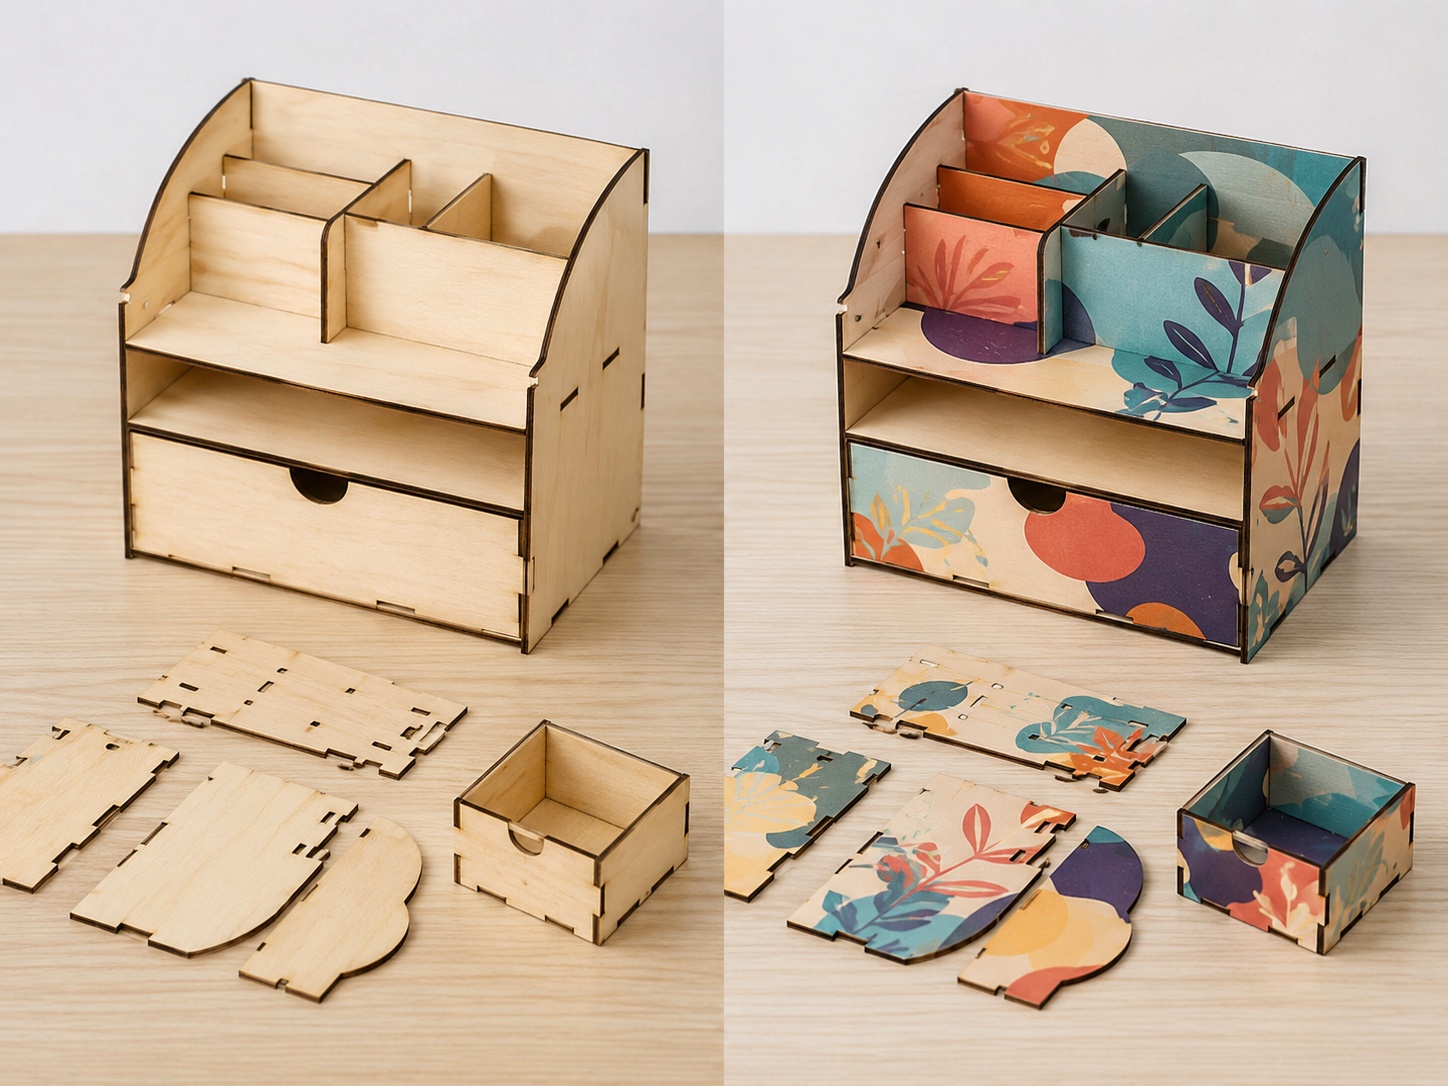
A product may look excellent in a rendering or finished photo, but if it has too many small parts, unclear assembly logic, or fitting that feels too tight or unstable, the end-user experience may suffer. For B2B customers, this can lead to lower satisfaction, weaker reviews, and reduced repeat purchases.
That is why part count and assembly difficulty should always be reviewed together. More parts do not always create more value. Sometimes reducing unnecessary details can improve the product by making assembly smoother and the final structure more stable. In other cases, keeping a few strong visual highlights while simplifying hidden or repetitive components can create a better balance between product appeal and usability.
A good wooden DIY product should be interesting to assemble, not frustrating to finish.
Step 4: Choose Materials and Finishes Based on Positioning
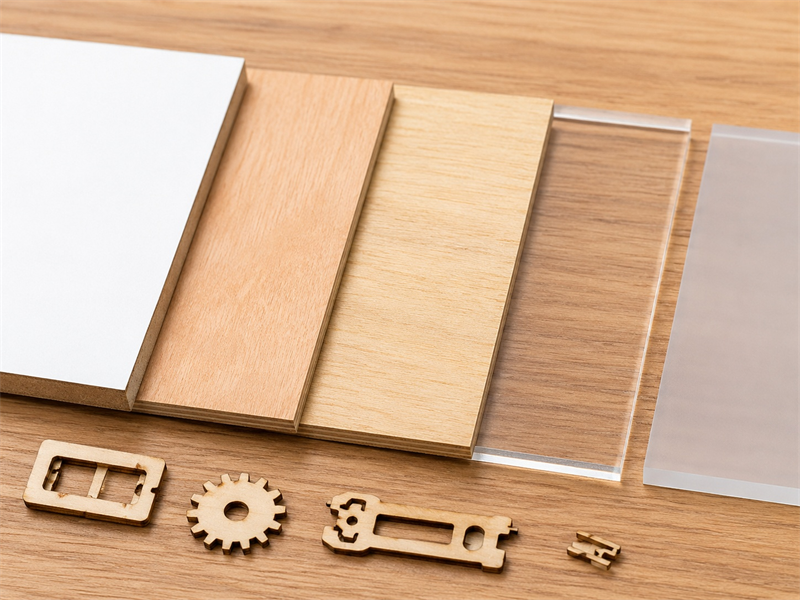
Material and surface finishing play a major role in balancing product value and cost.
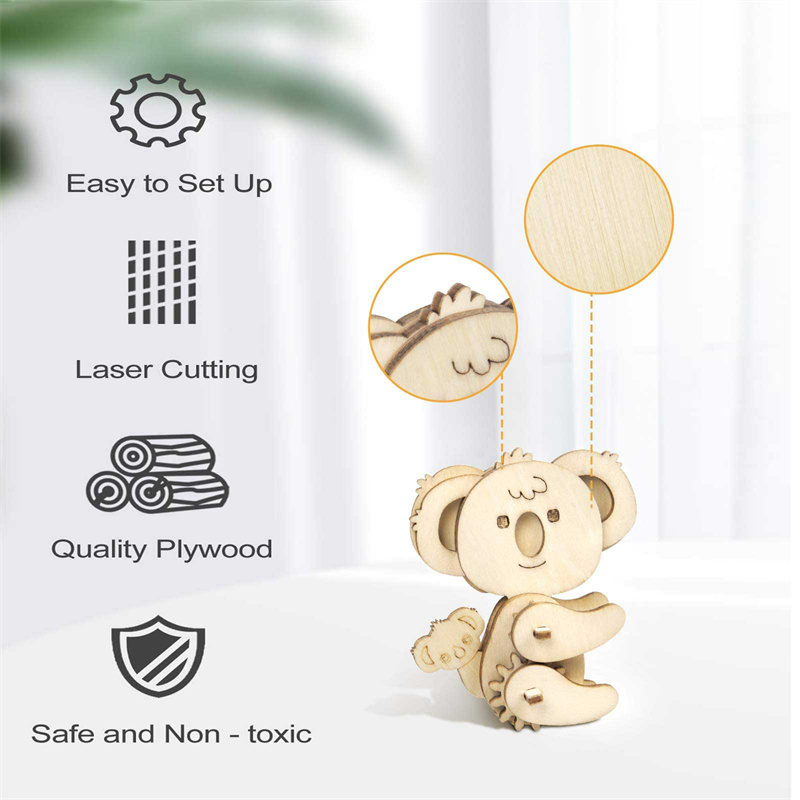
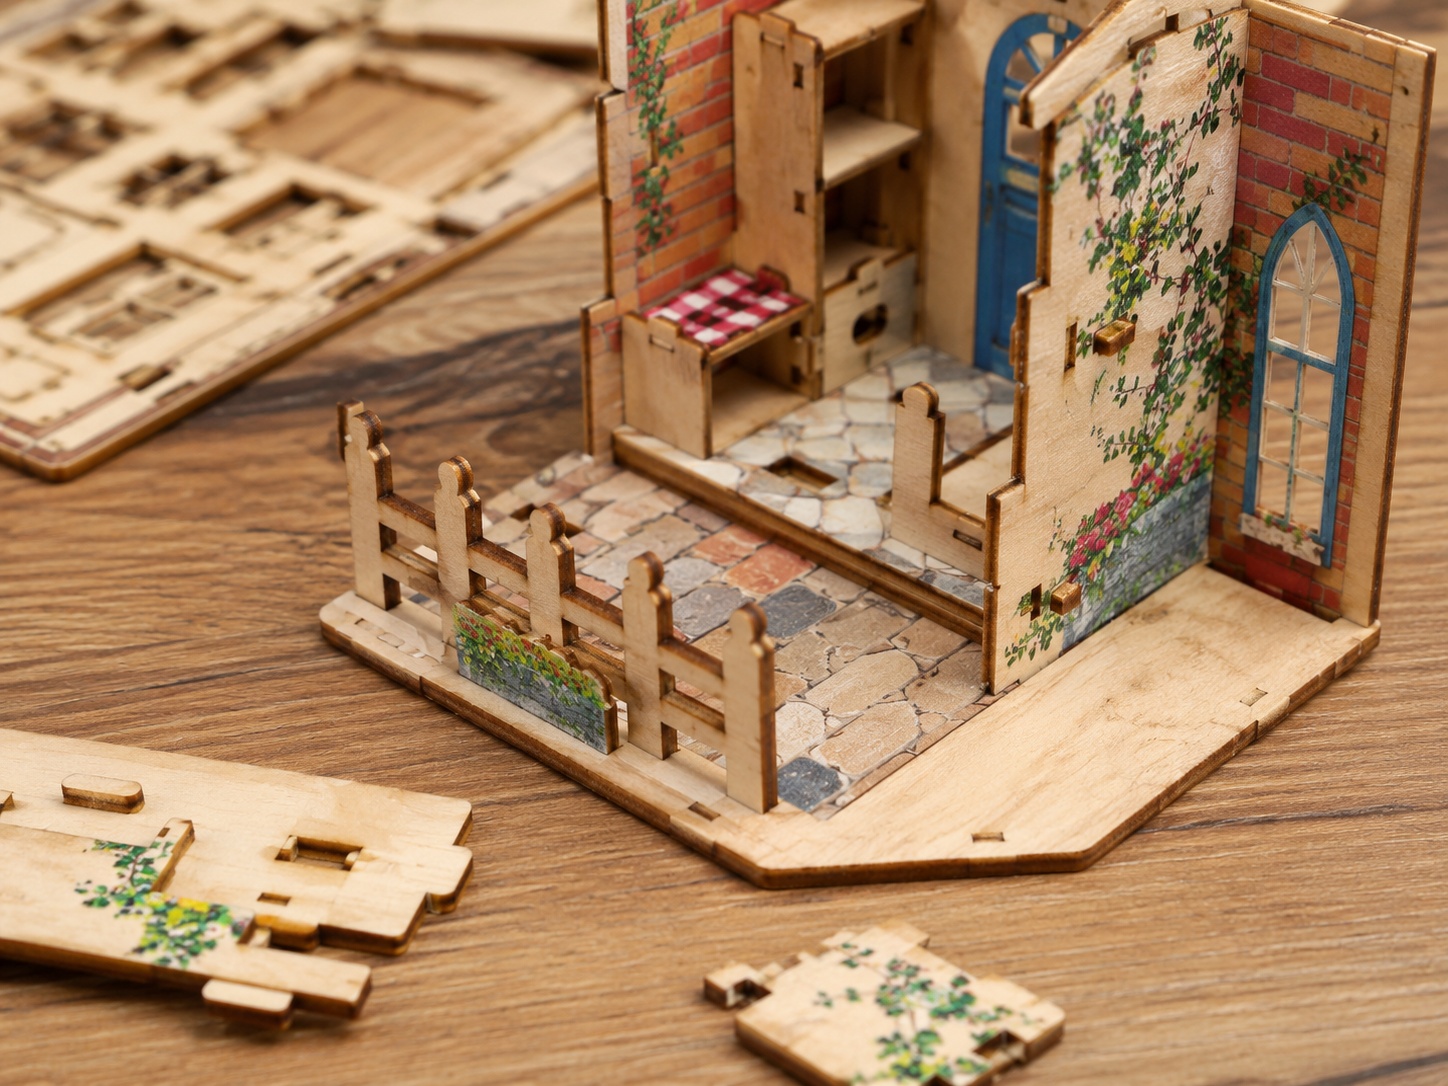
Different materials support different product goals. Some are better for smooth printed surfaces, some are better for more natural wood texture, and some are chosen because they create a better balance between appearance and cost. In the same way, finishing choices such as UV printing or wood-grain decorative treatment should not be selected only because they look attractive in isolation. They should be selected because they support the final product positioning.
For example, a premium decorative product may justify finer surface presentation and more detailed visual treatment. A broader market product may need a simpler but cleaner finish to remain commercially effective. In custom wooden model kits, the right material and finishing decision often makes the difference between a product that feels coherent and one that feels over-designed for its price level.
The key is not to choose the most expensive solution. It is to choose the most suitable one.
Step 5: Think About Packaging and Shipping Early
Packaging should not be treated as the final step after the product is finished. It should be considered during development.
Part size, board layout, and product structure all affect packaging dimensions. If certain parts become too large or too awkward, packaging may become less efficient, shipping may become less economical, and the retail presentation may be harder to optimize. Even when buyers do not need highly customized packaging, they still need packaging that protects the parts, keeps components organized, and matches the product’s basic market positioning.
This is why packaging is part of the balance discussion even when the project uses a simple standard box. A product that works well in production but performs poorly in packaging and transport is not fully optimized. Good product development should consider not only how the item looks when assembled, but also how it behaves before the customer opens the box.
Step 6: Build a Product That Works for Both Retail and Production
The final step is to evaluate the product as a complete B2B item, not just as a design concept.
A good wooden DIY product should work across several realities at the same time. It should look attractive enough for the target sales channel. It should be practical enough for stable production. It should be priced in a way that leaves room for wholesale and retail margins. And it should provide an assembly experience that matches the expectations of the intended customer.
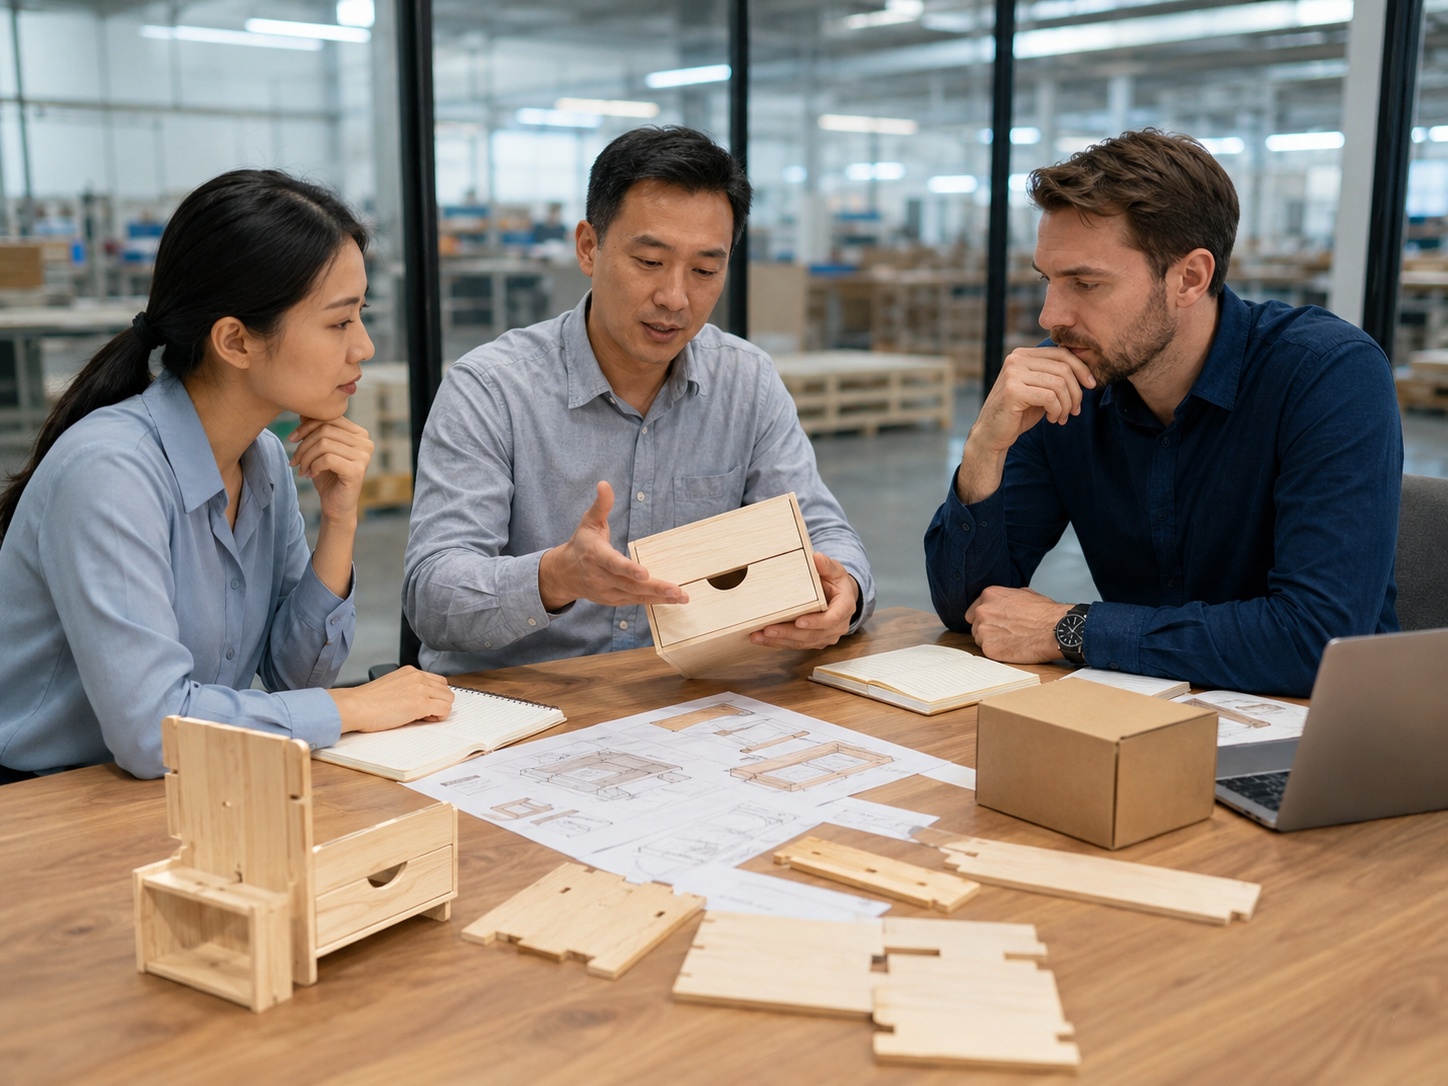
This is one reason why working with an experienced wooden puzzle manufacturer or wooden DIY kits manufacturer matters. A capable factory does not only make what is drawn. It helps buyers see where a design may be too complicated, too costly, or too difficult for the intended market. That kind of adjustment is not a compromise in a negative sense. It is part of building a product that is truly market-ready.
Final Thoughts
Balancing design, cost, and assembly experience is one of the most important parts of developing successful wooden DIY products. The goal is not to make the cheapest product or the most complex product. The goal is to create a product that feels right for its market.
For B2B buyers, the best results usually come from products where visual appeal, structural practicality, pricing logic, and customer usability support each other. When that balance is achieved, the product becomes easier to sample, easier to price, easier to produce, and more likely to succeed in long-term sales.
In wooden DIY product development, balance is not a limitation. It is what turns a good idea into a commercially strong product.